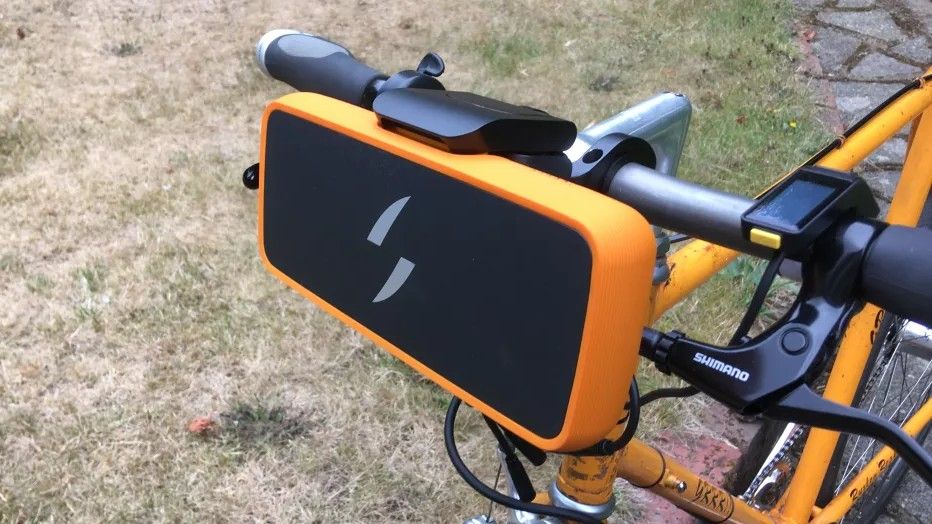
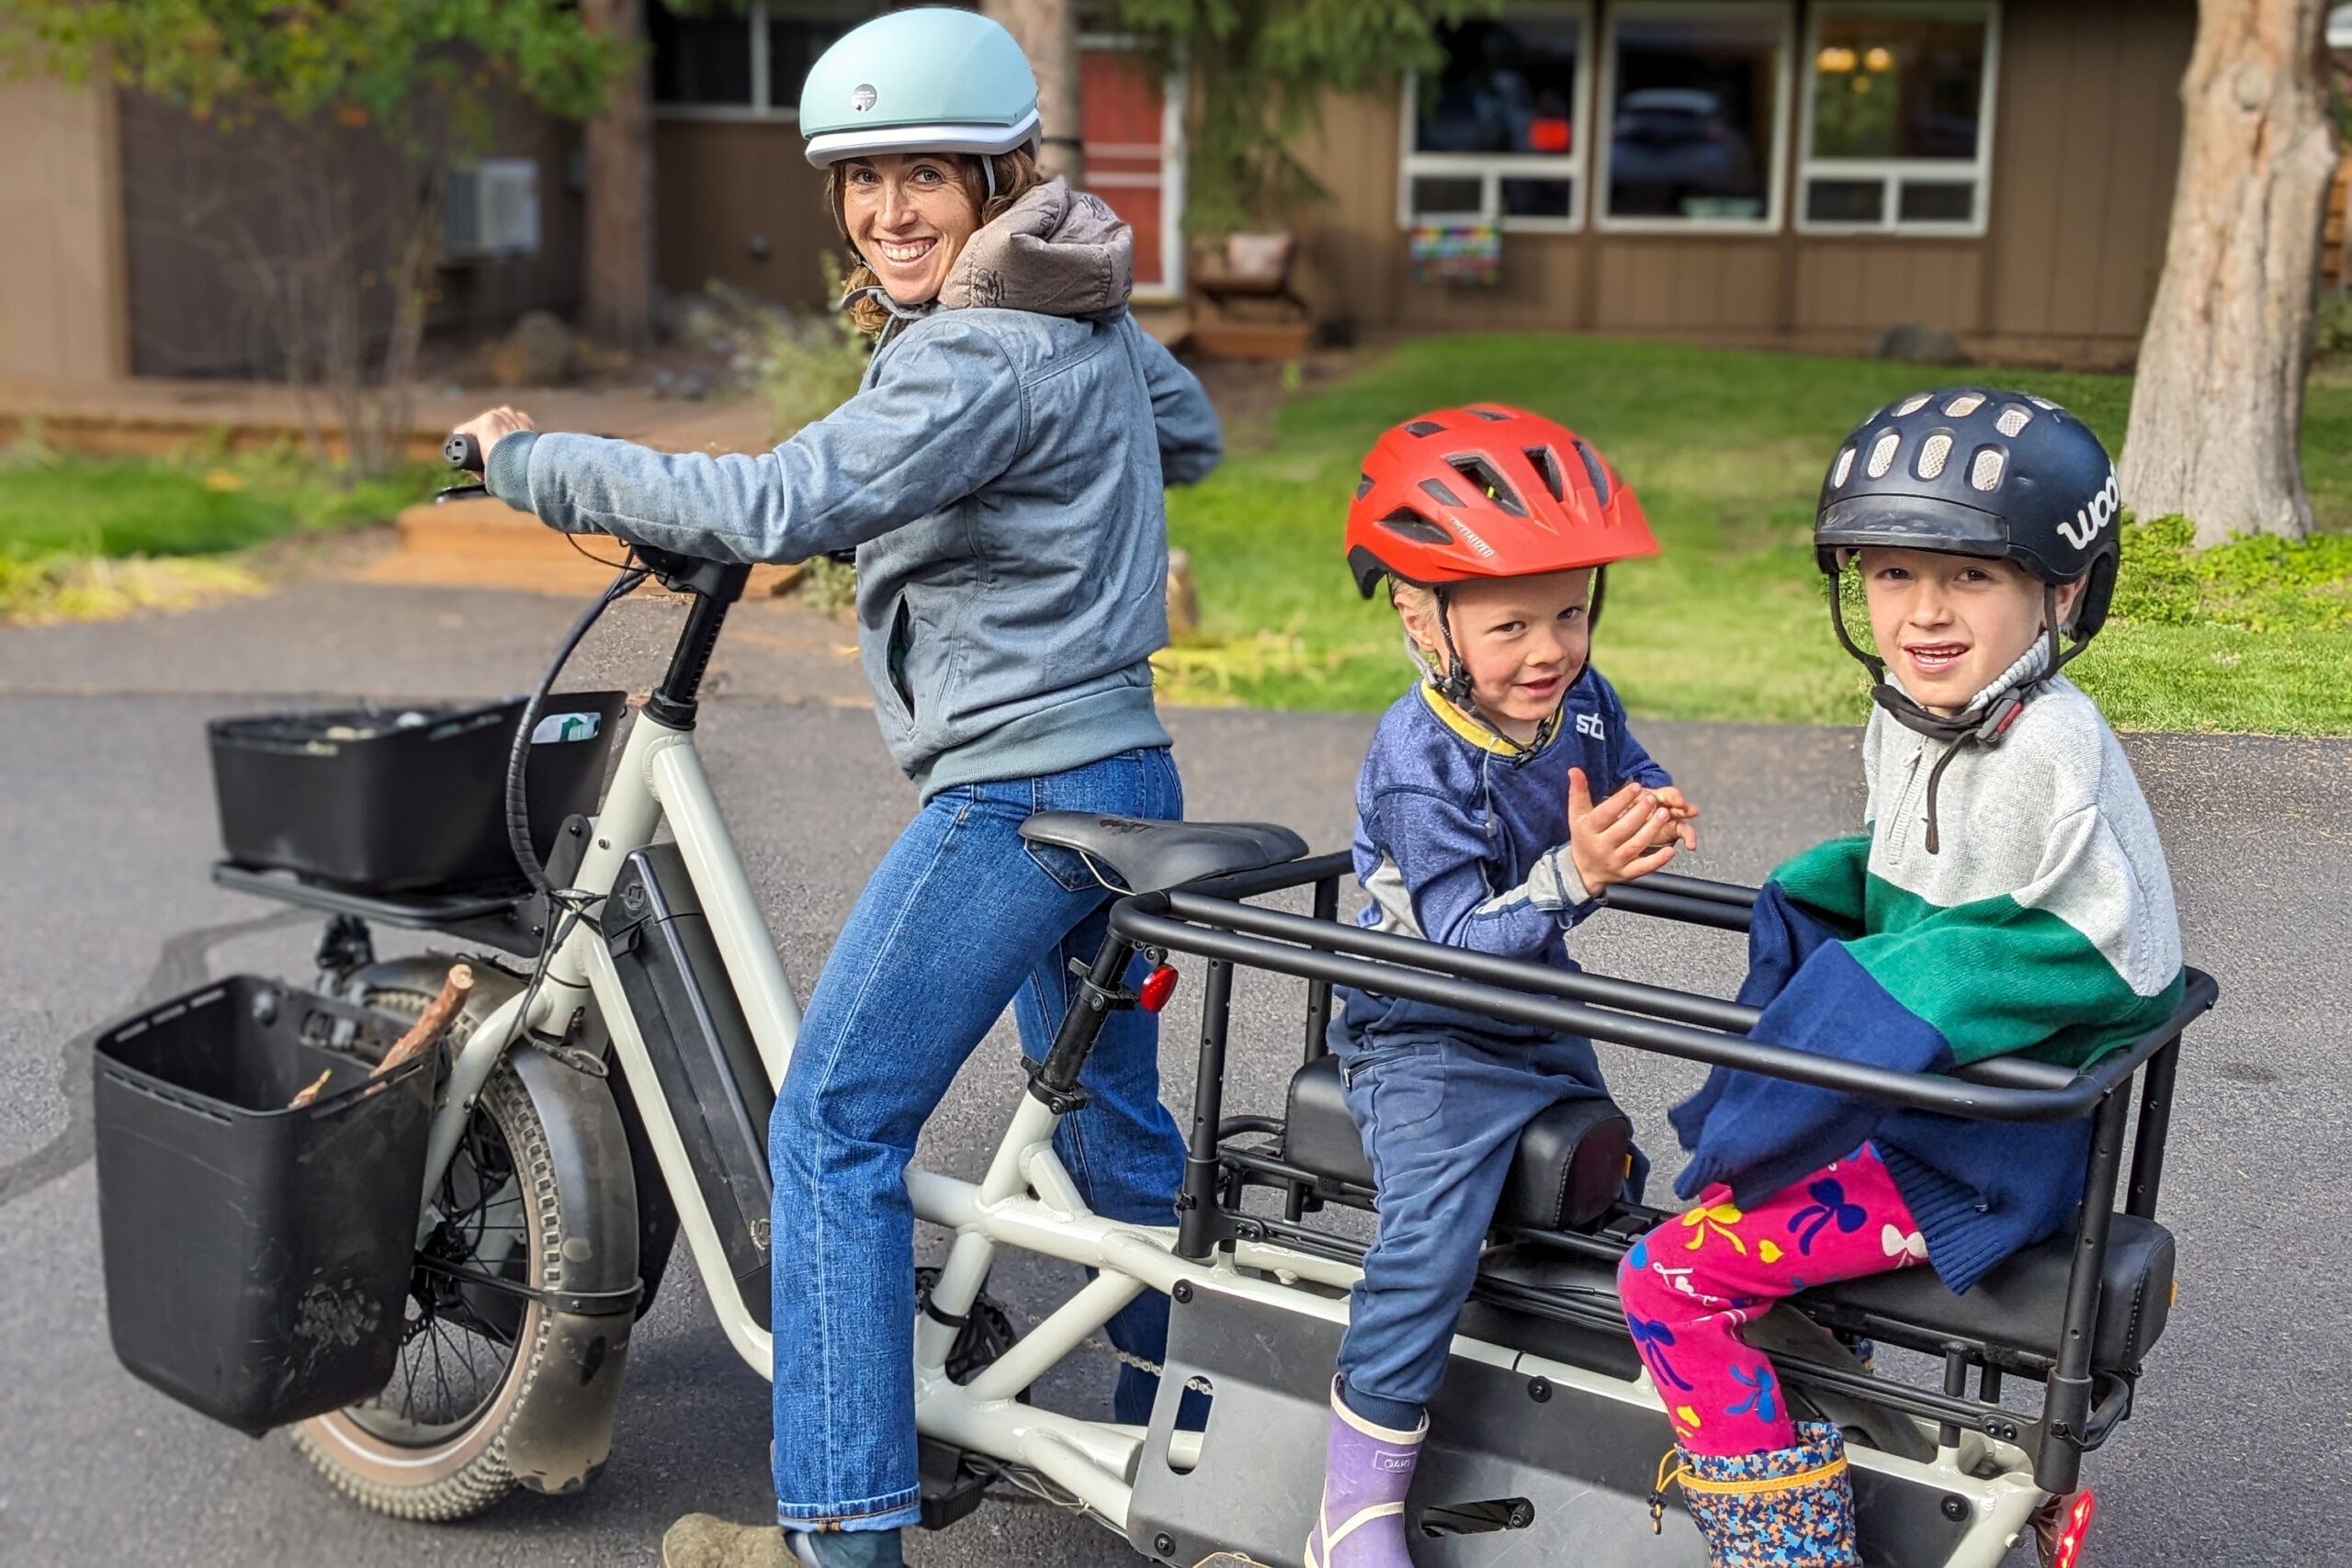
To convert your regular bike into an electric bicycle, you need an electric bike conversion kit. These kits include a motor, battery, and other necessary components.
Electric bikes are gaining popularity due to their convenience and eco-friendliness. Converting your existing bike into an electric one can save money and extend the life of your current bicycle. Electric bike conversion kits are available in various types and sizes to fit different bike models.
This DIY project requires basic tools and mechanical knowledge, making it accessible to many bike enthusiasts. By converting your bike, you enjoy the benefits of electric power without the cost of purchasing a new e-bike. Start by choosing the right kit and following installation instructions to achieve a successful conversion.
Introduction To Electric Bicycles
Electric bicycles, or e-bikes, are regular bicycles with an electric motor. This motor helps you pedal, making rides easier and faster. E-bikes have become very popular in recent years. They are eco-friendly and save money on gas. You can turn your regular bike into an e-bike with a conversion kit. This blog post will show you how.
Why Go Electric?
There are many reasons to convert your bike to an e-bike:
- Eco-Friendly: E-bikes produce no emissions. They help the environment.
- Cost-Efficient: Save money on fuel and public transport.
- Health Benefits: You still get exercise but with less strain.
- Time-Saving: Travel faster than a regular bike, especially on hills.
Benefits Of Conversion
Converting your bike has several advantages:
- Cost-Effective: Cheaper than buying a new e-bike.
- Customizable: Choose the motor and battery that suits your needs.
- Maintain Familiarity: Keep riding your favorite bike with added power.
- Easy Installation: Conversion kits are simple to install with basic tools.
| Feature | Regular Bike | Converted E-Bike |
|---|---|---|
| Speed | Moderate | Faster |
| Effort | High | Low |
| Range | Limited | Extended |
Choosing The Right Conversion Kit
Converting your regular bike into an electric bicycle is thrilling. The key to a smooth transition is picking the right conversion kit. The right kit offers the power, durability, and ease of installation you need.
Types Of Kits
There are different types of electric bike conversion kits. Each type suits different needs and riding styles. Here are the main types:
- Front Wheel Kits: These kits replace your front wheel with a motorized one. They are easy to install and maintain.
- Rear Wheel Kits: These kits replace your rear wheel. They offer better traction and are great for hilly areas.
- Mid-Drive Kits: These kits place the motor near the bike’s center. They provide a balanced ride and are efficient on hills.
Key Components
A conversion kit includes several important components. Each piece plays a vital role in turning your bike electric.
| Component | Description |
|---|---|
| Motor | This is the heart of your electric bike. It provides the power to move the bike. |
| Battery | The battery stores the energy needed to power the motor. Look for long-lasting and quick-charging options. |
| Controller | The controller manages the power flow from the battery to the motor. It ensures smooth and efficient operation. |
| Throttle | The throttle lets you control the speed of your bike. It can be a twist or thumb throttle. |
| Display | The display shows important information. It includes speed, battery level, and distance traveled. |
Choosing the right kit depends on your needs and bike type. Consider where you will ride and how far. With the right conversion kit, you can enjoy a smooth and powerful electric ride!
Preparing Your Bike
Before converting your regular bike into an electric bicycle, you need to prepare it. This involves inspecting your bike and gathering the necessary tools. These steps ensure a smooth and successful conversion process.
Inspecting Your Bicycle
Start by checking your bike for any damage. Look at the frame, wheels, and brakes. Ensure everything is in good condition. This makes your bike safe for conversion.
Check the tire pressure. Make sure the tires are properly inflated. Inspect the chain and gears. They should be clean and well-lubricated. If you find any issues, fix them before proceeding.
Gathering Necessary Tools
Next, gather all the tools you will need. Here is a list of essential tools:
- Wrench set: For loosening and tightening bolts.
- Allen keys: For adjusting various parts of the bike.
- Screwdrivers: Both flathead and Phillips types.
- Pliers: Useful for gripping and cutting wires.
- Electric bike kit: Contains motor, battery, and controller.
- Zip ties: For securing wires neatly.
Make sure all tools are accessible and in good condition. This will make the conversion process much easier and faster.

Credit: m.youtube.com
Installing The Motor
Converting your regular bike into an electric bicycle is an exciting project. One of the most crucial steps is installing the motor. This component powers your bike and makes it electric. You can choose between two main types of motors: front hub motors and rear hub motors. Each type has its own installation process and benefits.
Front Hub Motors
Front hub motors are easy to install. They attach to the front wheel of your bike. This type of motor gives you a balanced ride. Here’s a step-by-step guide to install a front hub motor:
- Remove the front wheel from your bike.
- Install the motorized wheel in its place.
- Secure the wheel with the provided nuts.
- Connect the motor to the controller using the wiring provided.
- Attach the controller to your bike frame.
- Ensure all connections are tight and secure.
Make sure to double-check the alignment. The wheel should spin freely without any wobble. Also, ensure the wiring is not tangled or pinched.
Rear Hub Motors
Rear hub motors are installed on the rear wheel. They provide better traction and are ideal for hilly areas. Here’s how to install a rear hub motor:
- Remove the rear wheel from your bike.
- Install the motorized wheel in its place.
- Secure the wheel with the provided nuts.
- Connect the motor to the controller using the wiring provided.
- Attach the controller to your bike frame.
- Ensure all connections are tight and secure.
With rear hub motors, pay extra attention to the alignment. The wheel should spin smoothly. Check the tension of the chain or belt drive system as well.
Both front and rear hub motors come with detailed instructions. Follow them carefully for a successful installation. Remember, safety first! Double-check all connections and fittings before you take your first ride.
Mounting The Battery
Mounting the battery on your bike is a crucial step. It ensures a stable and safe ride. This section guides you through the best practices for battery placement and securing it properly.
Battery Placement Options
Choosing the right spot for your battery is important. Here are some common placement options:
- Down Tube: This is the most popular spot. It keeps the weight centered.
- Rear Rack: Ideal for larger batteries. It provides easy access.
- Seat Tube: Good for smaller batteries. It keeps the bike balanced.
Select the placement that works best for your bike and riding style.
Securing The Battery
Once you pick a spot, securing the battery is the next step. Properly securing the battery ensures safety and longevity. Follow these steps:
- Use a sturdy mount: Ensure the mount is designed for your battery type.
- Check for tightness: The battery should not wobble or move.
- Use straps if needed: Additional straps can provide extra security.
Here is a simple table for quick reference:
| Battery Placement | Advantages | Disadvantages |
|---|---|---|
| Down Tube | Centered weight, better balance | Limited space |
| Rear Rack | Easy access, more space | Can affect handling |
| Seat Tube | Keeps bike balanced | Only for smaller batteries |
Ensure the battery is secure and stable before your ride. This will keep you safe and your bike in good condition.
Connecting The Electrical System
Connecting the electrical system is a crucial step in converting your bike into an electric bicycle. This process involves wiring the various components and installing the controller. With the right guidance, you can complete this step efficiently and safely.
Wiring Basics
Understanding the basics of wiring is essential for a smooth conversion. You’ll need to connect the battery, motor, and controller properly. Here are the key steps:
- Identify the wires: Use color codes to match connections.
- Strip the wire ends: Remove the insulation carefully.
- Connect the wires: Use connectors or solder for secure connections.
- Insulate the connections: Apply electrical tape or heat shrink tubing.
Controller Installation
The controller is the brain of your electric bike. It manages the power flow between the battery and the motor. Follow these steps to install the controller:
- Choose a location: Find a spot on your bike frame.
- Mount the controller: Use brackets or zip ties.
- Connect the wires: Attach the controller to the battery and motor.
- Secure the wires: Use cable ties to keep them tidy.
Following these steps ensures a safe and efficient electrical system. Proper wiring and controller installation are vital for your electric bike’s performance.
Testing And Tuning
After converting your bike into an electric bicycle, it’s time to test and tune. Proper testing ensures your e-bike runs smoothly and safely. This stage involves an initial test ride and adjusting settings to perfect the ride.
Initial Test Ride
Begin with a short test ride in a safe, open area. This helps you check the basic functionality of your new electric bike. Follow these steps:
- Ensure the battery is fully charged.
- Check if all connections are secure.
- Start at a low speed to get a feel for the bike.
- Test the brakes to ensure they respond well.
- Listen for unusual sounds or vibrations.
Pay attention to the throttle response and pedal assist. Make sure they work seamlessly. If everything feels right, you can proceed to longer rides.
Adjusting Settings
Now, it’s time to fine-tune your e-bike settings for optimal performance. This involves adjusting the settings on the controller and other components. Here are some key areas to focus on:
- Pedal Assist Levels: Adjust the pedal assist levels to your preferred setting.
- Throttle Sensitivity: Set the throttle sensitivity for smooth acceleration.
- Brake Cut-Off: Ensure the brake cut-off feature works to stop the motor quickly.
- Battery Management: Monitor the battery usage and adjust settings for efficiency.
Refer to your e-bike conversion kit manual for specific instructions. Each kit may have different settings and adjustments.
Regular tuning ensures your electric bike remains in top condition. This includes checking tire pressure, lubricating the chain, and inspecting the brake pads.
Testing and tuning are crucial steps to enjoy your new electric bicycle. Happy riding!
Maintenance Tips
Maintaining your newly converted electric bicycle ensures its longevity and performance. Regular upkeep is essential for a smooth and enjoyable ride. Let’s dive into some crucial maintenance tips.
Battery Care
The battery is the heart of your electric bicycle. Proper care can extend its life. Follow these simple steps:
- Charge the battery regularly, even if not in use.
- Store the battery in a cool, dry place.
- Avoid overcharging. Disconnect when fully charged.
- Check battery connections for any signs of corrosion.
| Battery Care Tips | Why It’s Important |
|---|---|
| Regular Charging | Prevents battery from dying |
| Cool, Dry Storage | Extends battery life |
| Avoid Overcharging | Prevents battery damage |
| Check Connections | Avoids electrical issues |
Routine Inspections
Routine inspections keep your electric bike running smoothly. Perform these checks regularly:
- Inspect tires for wear and tear.
- Check brakes for proper functioning.
- Examine the chain and lubricate it.
- Ensure all bolts are tight and secure.
- Verify all electrical connections are intact.
Keeping up with these inspections ensures a safe and efficient ride. Here are some quick tips for routine checks:
- Use a pressure gauge to check tire pressure.
- Test brakes by squeezing the levers.
- Apply bike-specific lubricant to the chain.
- Use a wrench to tighten any loose bolts.
- Look for any frayed wires or loose connectors.
Legal Considerations
Converting your bike into an electric bicycle is exciting. But it’s important to understand the legal aspects. This ensures you ride safely and legally. Let’s explore the legal considerations in detail.
Local Regulations
Every region has different rules for electric bicycles. Check your local laws before starting the conversion. Some areas require registration for electric bikes. Others may have restrictions on speed or power. Make sure your conversion kit meets the legal requirements.
| Region | Power Limit | Speed Limit |
|---|---|---|
| USA | 750W | 20 mph |
| EU | 250W | 15.5 mph |
| Australia | 200W | 15 mph |
Safety Guidelines
Safety is crucial when riding an electric bike. Follow these guidelines to ensure a safe ride:
- Wear a helmet at all times.
- Check the brakes regularly.
- Inspect the battery for any damage.
- Use lights when riding at night.
Proper maintenance is also important. Keep your bike in good condition. This ensures a smooth and safe ride. Remember, safety should always be your top priority.
Conclusion
Converting your regular bike into an electric bicycle is simple and rewarding. Save money and enjoy an eco-friendly ride. Follow our guide to transform your cycling experience today. Embrace the convenience and benefits of electric biking. Start your journey towards a greener, more efficient mode of transportation now.


